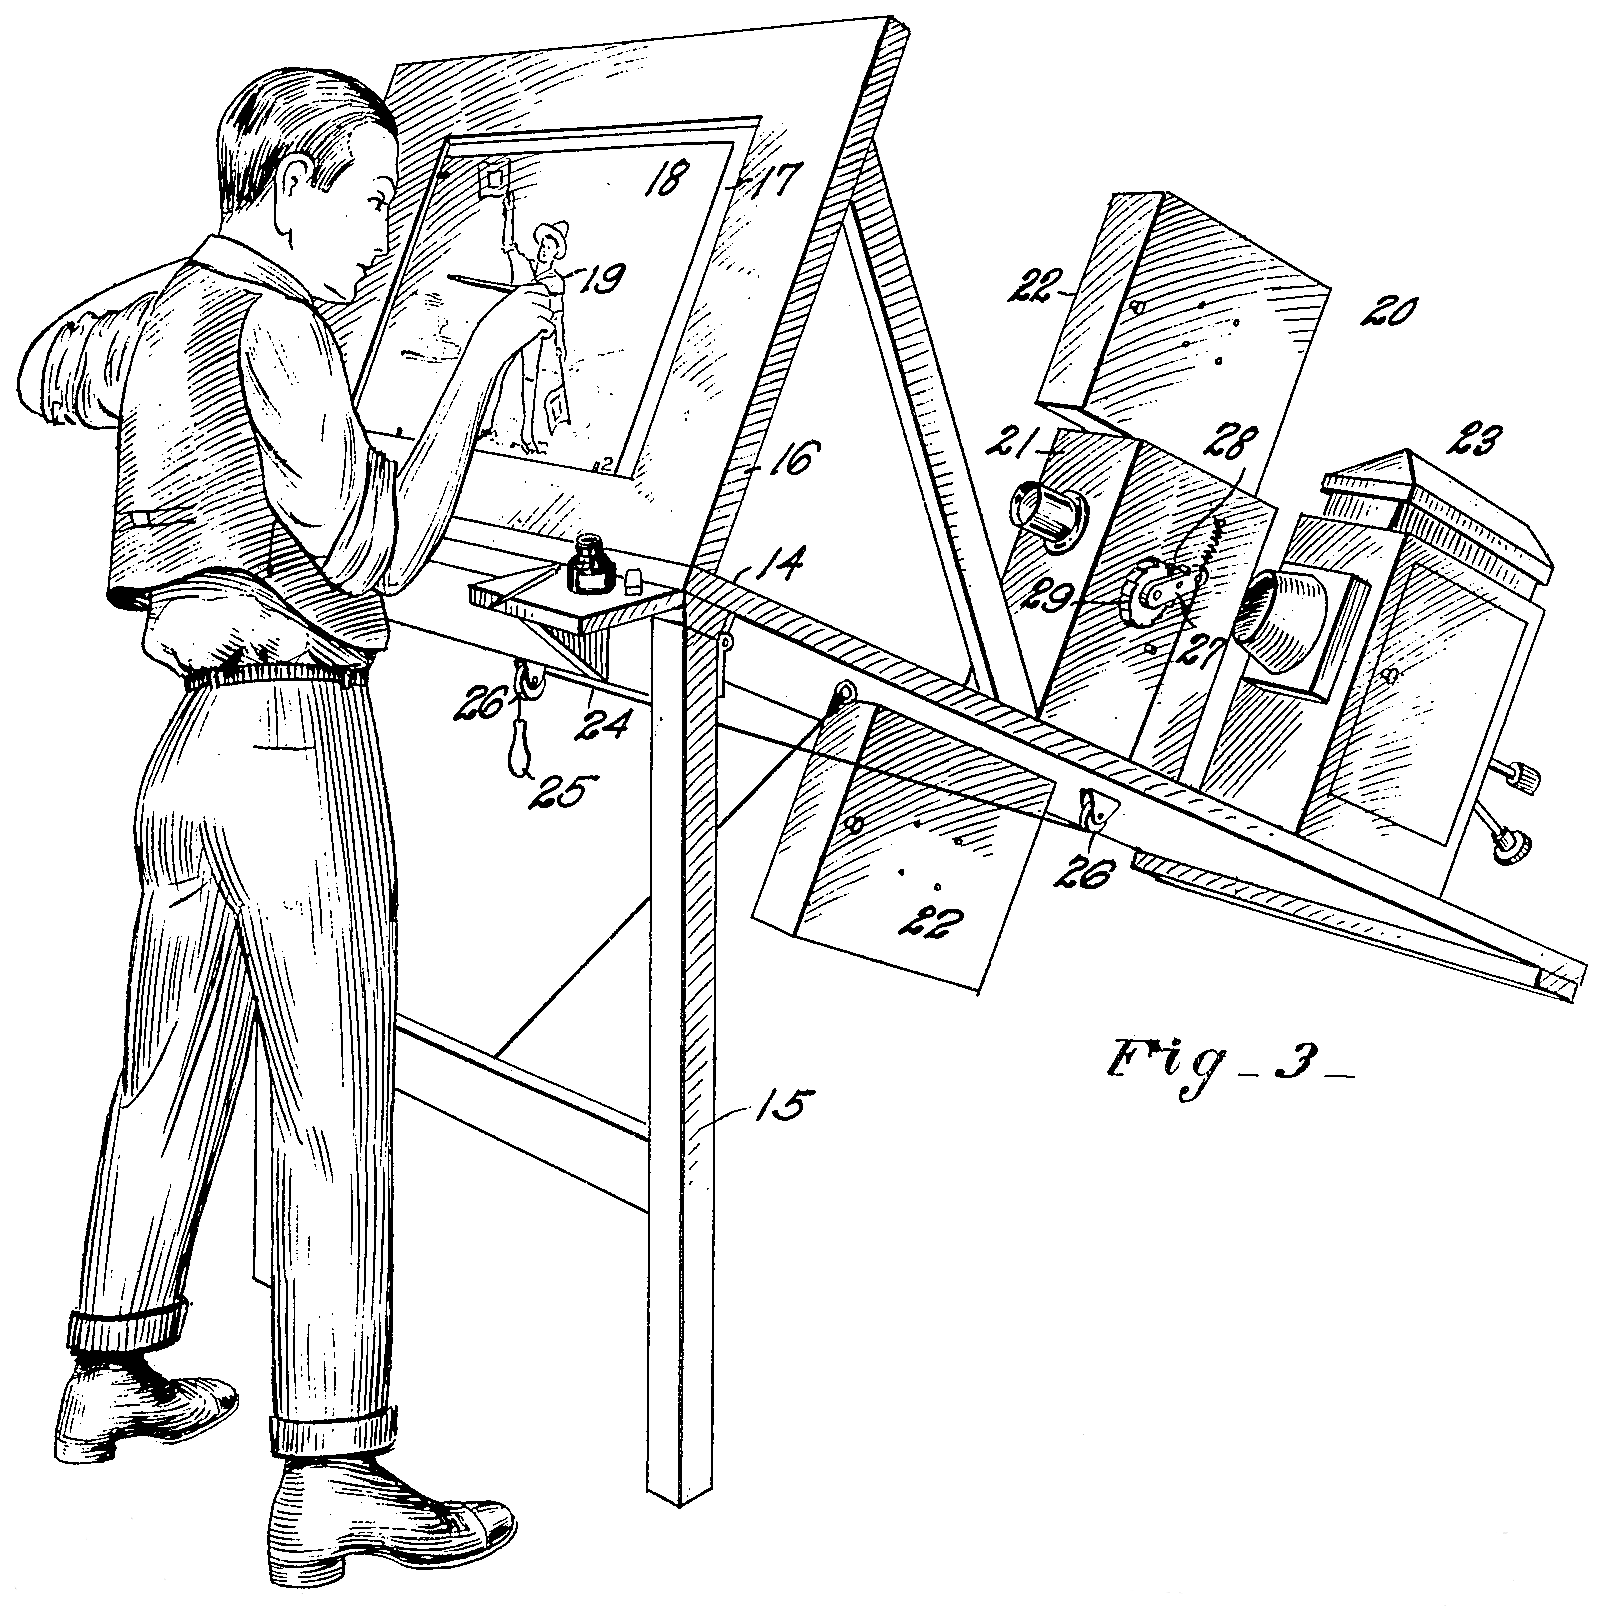
Rotoscoping is an animation technique where animators trace over live-action footage frame-by-frame to produce fluid, realistic movement. The technique has been used for many major works, including: Ralph Bakshi's 'Lord Of The Rings' (1978) [1], Disney's original 'Snow White' (1937) [2] and most recently, Richard Linklater's 'A Scanner Darkly' (2006) [3], based on the novel by Philip K. Dick. There are many approaches to producing rotoscoped animation, from projection to bespoke professional software, such as 'RotoShop' [4]. This article will cover the process using Adobe Premiere, Illustrator and Flash.
Editing The Video Sequence
First, shoot your footage with a standard video camera. If you want to trace only your subject, it can be useful to shoot against a plain background, as it will be easier to follow when tracing. Once shot, import the video clip into Adobe Premiere (Pro 1.5):
- File > Import > select video file
- Double click on the imported clip to view in the Monitor

Next edit your rotoscope sequence from the video footage, setting IN and OUT points, then add the edit to the sequence timeline.
- Set IN and OUT points for the edit in the Monitor window
- Drag and drop the edit from the Monitor window onto the sequence timeline
Exporting Frames As Images
Having edited the video, next export each frame as a separate image to trace over. To export the frames on a video timeline as individual images in Adobe Premiere:
- File > Export > Movie
- Click on the Settings button on the Export Movie window
- The Export Movie Settings window appears

On the General settings panel there are several image export file format options, including; GIF and TIFF. TIFF files are higher resolution, high quality, and tend to have larger file sizes. GIF files are low resolution, low quality and tend to have far smaller file sizes. The detail you require from each key frame image, clip duration and available storage, will determine the file format to use.
- Select a file format from the File Type menu
- Press OK and export the sequence to a local folder
Each frame of the sequence will be rendered and exported in sequence (with a number appended to each file name.) Once complete, save the project file and exit Adobe Premiere.
Tracing Over The Frames
Having exported frames from the video clip as individual images, next import them into Adobe Illustrator (CS) to trace over:
- Create a new document in Adobe Illustrator, setting the movie dimensions to those of the destination output resolution, e.g. 800px X 600px (SD)
- File > Place > select the first image file in the sequence
- The image file is imported onto a layer in Illustrator
- Lock this layer in the Layers palette
- Create a new layer above the former in the Layers palette for your artwork
- Use the original frame as a guide to create the artwork for each new frame of your animation
- Create a new layer and repeat steps 2-5 above, ensuring that each imported image file is placed at the same coordinates

Stitching Image Sequences Together On A New Timeline
Having created new artwork for every frame in your rotoscoped animation, next reassemble the animation on a new timeline in Adobe Flash (CS3):
In Adobe Illustrator:
- Delete all layers that include images from the original video, leaving only those layers which include new artwork
- File > Export > Save Type As > Flash (.SWF)
- Select a folder and add a file name
- Press Save
- Select 'AI Layers To SWF Files' from the Export As menu on the Format Options window
- Select 'Clip To Artboard Size' on the Format Options window
- Press OK

The layers in your Illustrator document are exported as separate .SWF (Flash) files.
In Adobe Flash:
- Create a new movie, setting the movie dimensions to those of the destination output resolution, e.g. 800px X 600px (SD)
- File > Import > Import To Stage
- Select all .SWF files exported from Illustrator
- Press OK

Each file is imported into Flash, with the same registration and dimensions, onto a separate layer (first frame in the sequence on the bottom layer, last frame in the sequence on the topmost layer). Drag each key frame in sequential order onto the bottom layer to create the new timeline, deleting the empty layers as you go.
Et voilà, a rotoscoped animation in Flash.