Whilst working on the latest White Rabbit Animation short, 'It's Beginning To Look A Lot Like Christmas', I made some quick notes on my sleeve as follows:
1) Secure EVERYTHING
Before you start the production, make sure that *everything* is secured so it won't budge an inch during the shoot - not just on the set, but the lights, camera, tripod and table on which the set is placed. You WILL accidentally knock something whilst in production, and although it is possible to replace objects, it's a real bugger to fix and wastes precious production time. Use Blu-Tack (Sticky Tack) to secure items on the set - or glue, nails, etc. and sandbags for tripods and tables. Ensure that lights and cameras are clamped tight to tripods and stands.
2) Plan, Plan And Plan Again
Of course you've planned your sequences in pre-production using storyboards, but have you considered the access points you will need in order to manipulate your models on the set? Where will you need to stand? You'll need plenty of arm room to get the most from your models, so this needs to be considered in the set design and set-up. Further, if your model moves around the set, does your lighting design accommodate this? You don't want to find your model has moved into shadow mid-shoot! A quick test of lighting at key positions before the shoot commences should iron out any issues.
3) Cleanliness Is Next To Godliness
If working with modelling clay (plasticine), ensure that ALL surfaces and your own hands are as clean as possible. Clay will pick up any dirt or fluff, which will be visible on camera. Wash hands, cut your nails as short as possible (sorry ladies) and remove rings to stop unwanted marks and blemishes appearing on your clay models. Use Blu-Tack (Sticky Tack) to clean sculpting tools, fingers and scalpel blades.
4) Blowing Hot And Cold
Modelling clay is perfect for animation as it is rigid enough to retain shape, yet malleable enough to allow for small, incremental movements. However, you will find that if you work the modelling clay a lot, it becomes a little too soft to add detail or hold smaller movements. To combat this, place your model into the fridge or freezer for a few *minutes* before use. The clay will toughen-up again, allowing for greater clarity in detail and movement. Similarly, modelling clay straight from the pack will be hard and difficult to sculpt or blend initially. Placing the block on a radiator or wrapping in warm towels before use will make it more malleable, saving you precious production time. (Note: Remove from the plastic packaging before warming).
5) Be Forever Vigilant
During production, get into the habit of checking for unwanted movement on the set as you shoot frame by frame. Most frame-grabber software will allow you to toggle between the current and previous frames to ensure the correct pace of action for models, so also check the surrounding objects to ensure you've not knocked anything. Pay particular attention to the area of the set you are working in. If caught in time, mistakes can be corrected... Otherwise you're either stuck with them or re-shooting the entire sequence!
6) A Weighty Matter
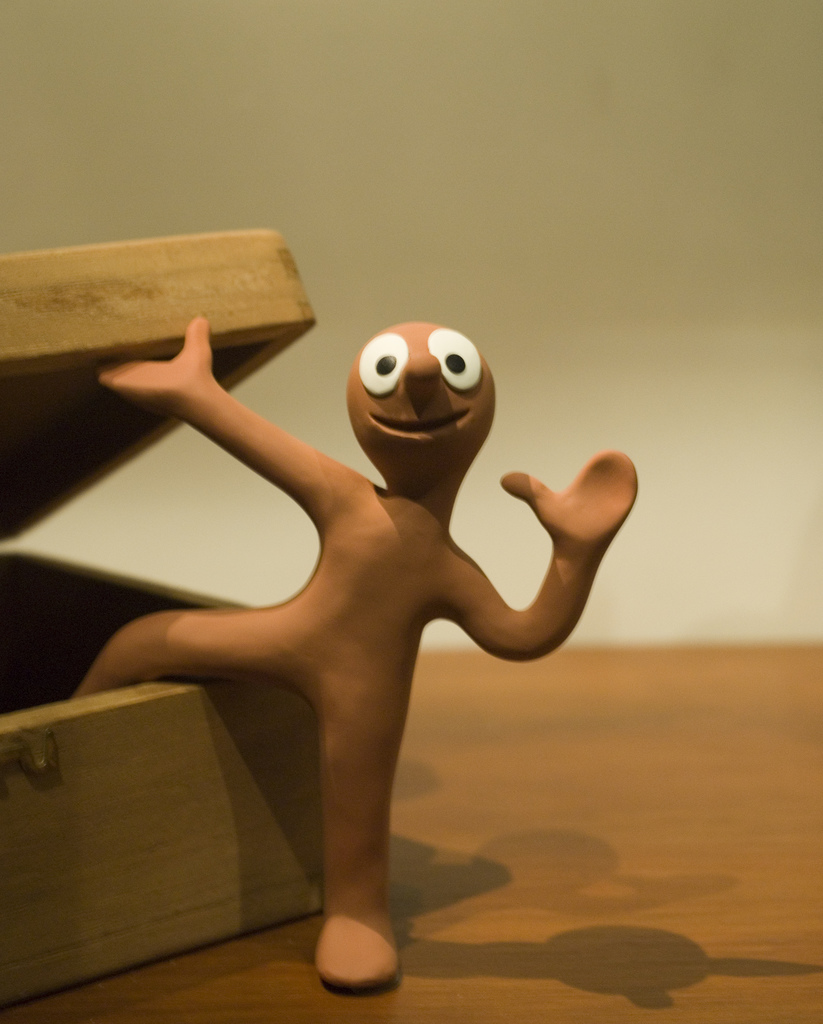
When working with clay models, you will probably find you need more than one version of each model for production. To ensure better visual consistency without the use of moulds, weigh the clay used for each model using electronic scales. In this way, the same amount of modelling clay will be used each time. This is particularly useful if your model morphs from one shape to another, as you may want to produce two models (a start point and an end point) to convey this effect before you start to shoot. If the same weight of clay is used for both models, the metamorphosis will be more convincing*.
*In fact, this tip was gleaned from an article by Peter Lord, creator and animator of Aardman's 'Morph'.